Adding and Editing Tabs
Article Last Updated: March 4, 2021
Adding Custom Tabs
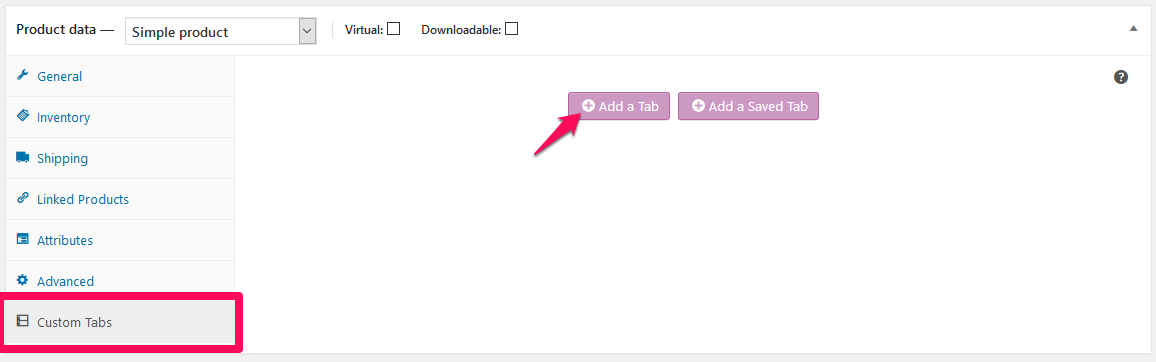
When editing a product in WooCommerce, you will find Custom Tabs in the bottom left corner of the Product Data box. Click on Custom Tabs to reveal the custom tabs editing screen.
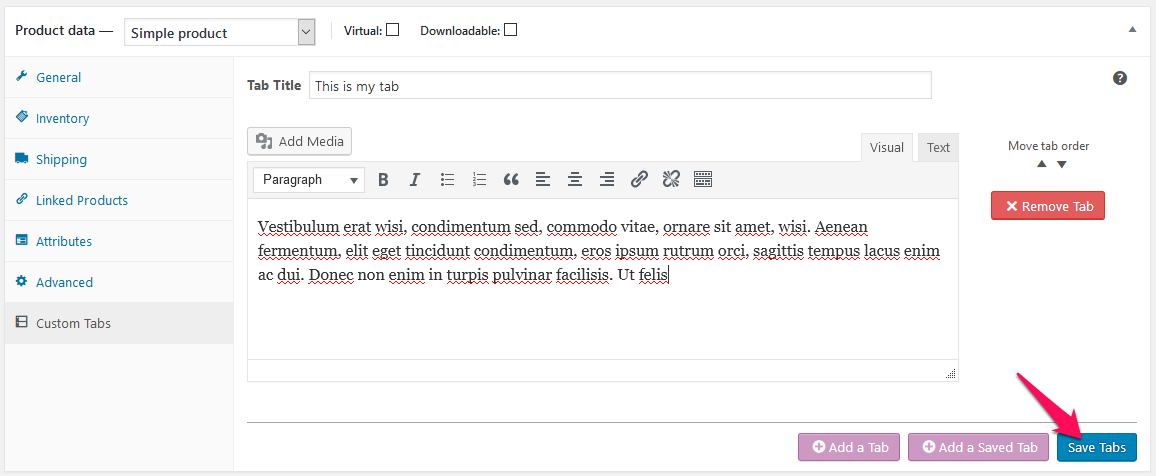
To add a new tab, click the Add a Tab button. Fill in the title and the content you want for the tab and then hit the Save Tabs button when you are finished.
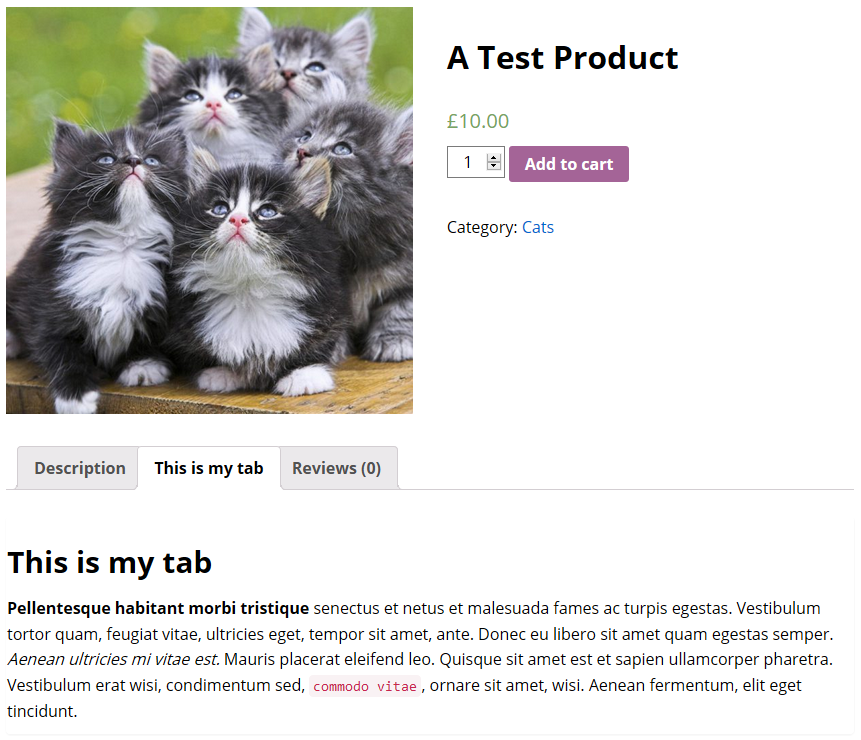
When the product is viewed on your website you will see the tabs you created to the right of the default “Description” tab.
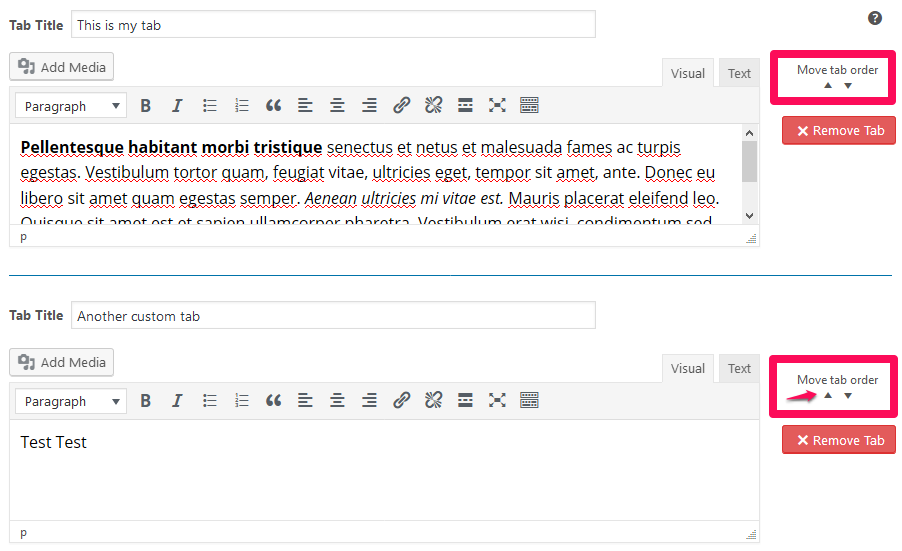
Rearranging Tabs
To change the order of tabs, use the up and down arrows next to Move tab order. This will move tabs up and down. After you have the tabs in the order you want, hit “Save Tabs” and they will be in that order on that product’s public page of your website.