Using Saved Tabs
Article Last Updated: March 4, 2021
Saved Tabs are tabs you can create and then use on as many products as you like.
Creating Saved Tabs
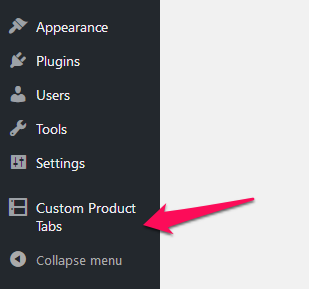
To make a saved tab click on the Custom Product Tabs item in the WordPress admin menu.

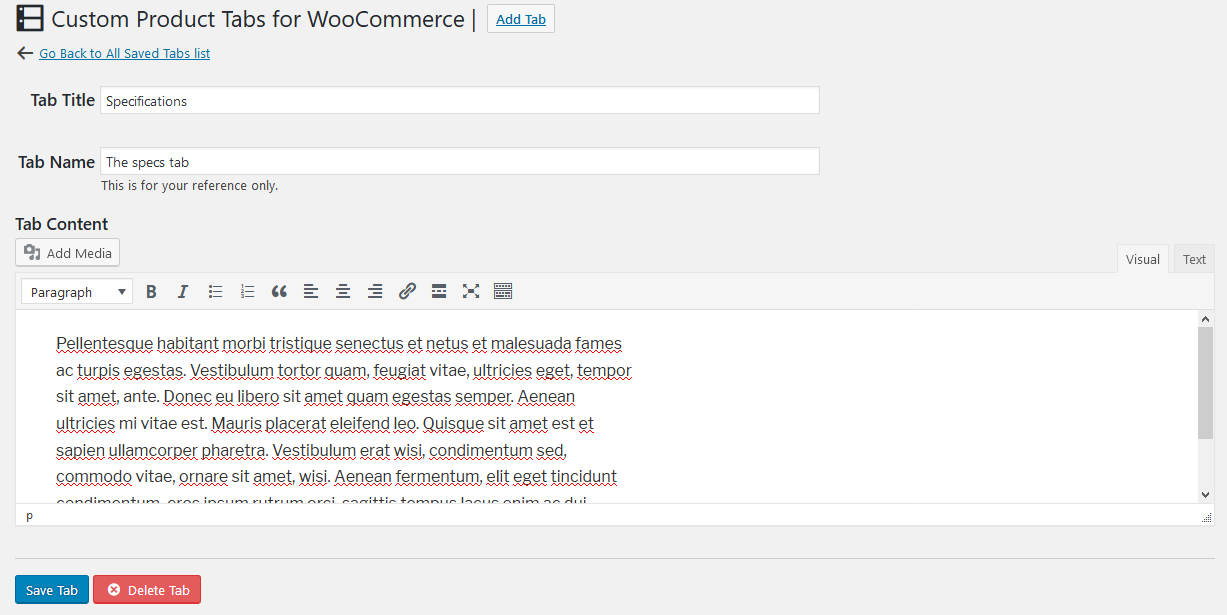
Enter a title and content for you tab and hit Save Tab. You can also give the tab a name. This is helpful if you have tabs with the same title, but different content. Now this tab can be used on multiple products.
Editing Tabs
Clicking the Custom Product Tabs item in the WordPress admin menu will bring up a list of all of your Saved Tabs. Click on the Edit Tab button of the tab you want to edit.
Any edits you make to a Saved Tab will be applied to all of the products that use it except for products that have “Override Saved Tab for this product” checked.
Using Saved Tabs
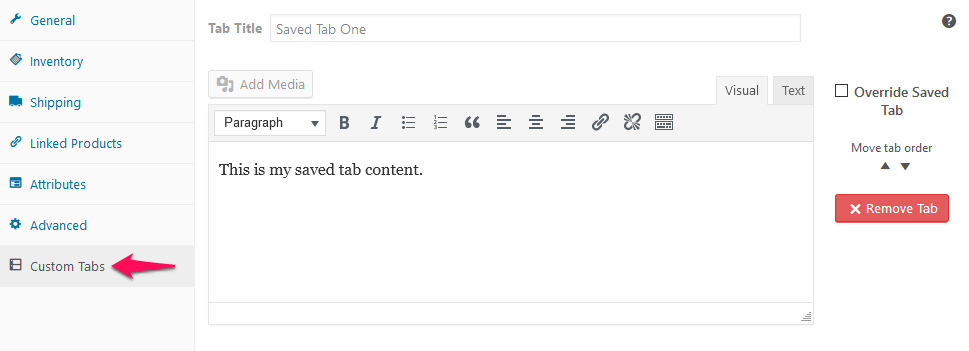
When editing a product in WooCommerce, you will find Custom Tabs in the bottom left corner of the Product Data box. Click on Custom Tabs to reveal the Custom Tabs editing screen.
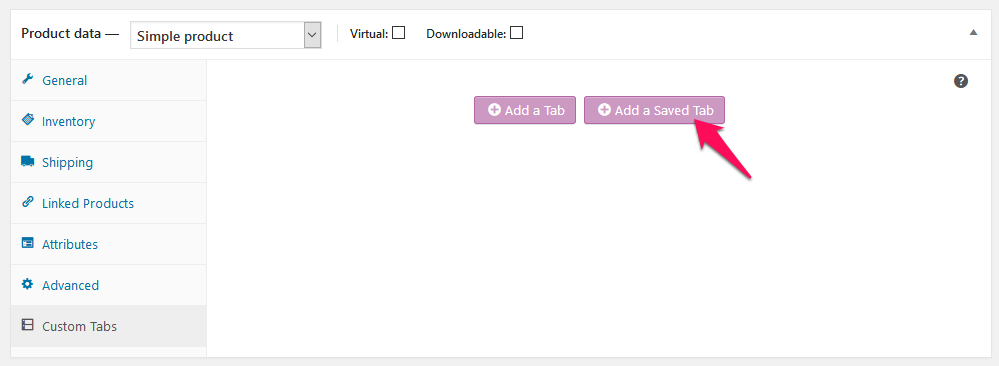
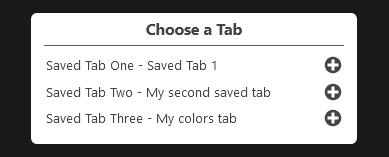
To add a Saved Tab, click the Add a Tab button. This will bring up a window with a list of all of your saved tabs. Click on the plus sign next to the tab you want to add.
Now your saved tab will appear on the Custom Tabs screen. Make sure to hit “Save Tabs” when you are all done.
Overriding Saved Tabs
When you edit a Saved Tab under Settings > Custom Product Tabs for WooCommerce those changes will apply to every product that uses that Saved Tab. If you want to make an exception to that on a per-product basis, check off Override Saved Tab for this product.
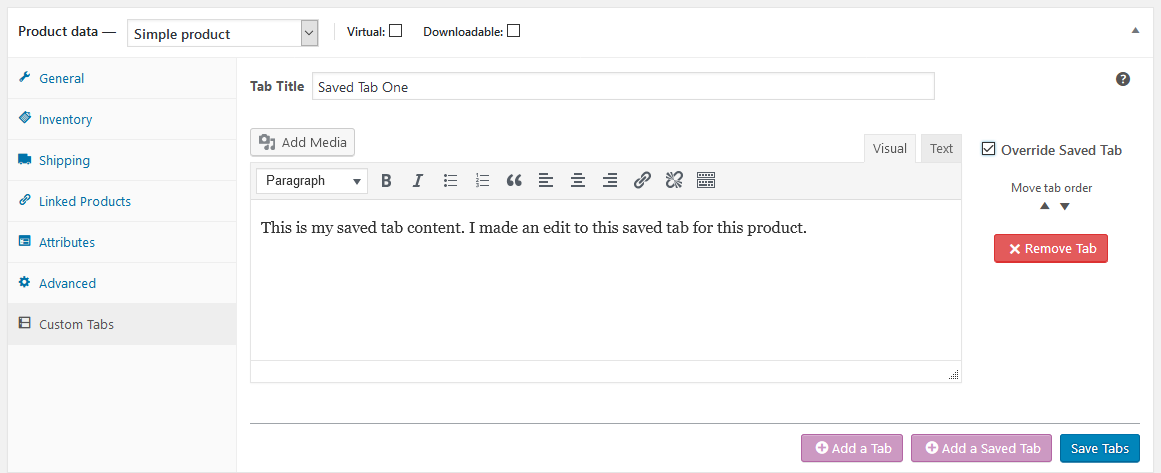
Clicking that checkbox will allow you to edit the saved tab for just that product. Any edits made to the main Saved Tab will not apply to products that have Override Saved Tab for this product checked.