Editing Forms
Article Last Updated: March 4, 2021
After you’ve created at least one form you are ready to edit it.
Go to Easy Mailchimp > Signup Forms

Find the form you want to edit on the list, hover over the form name to reveal its options and click on Edit.
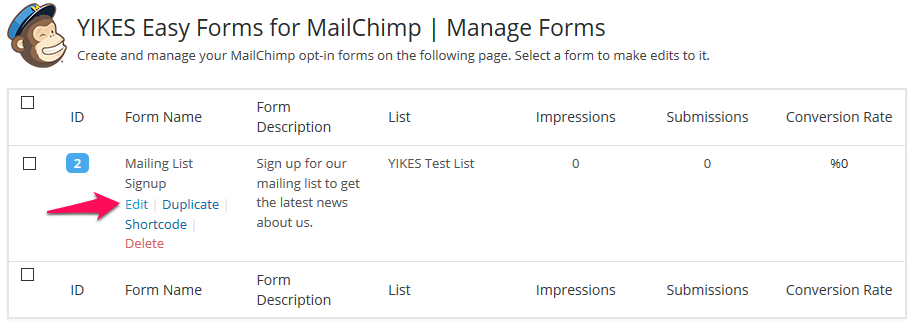
This will take you to the Form Editor.
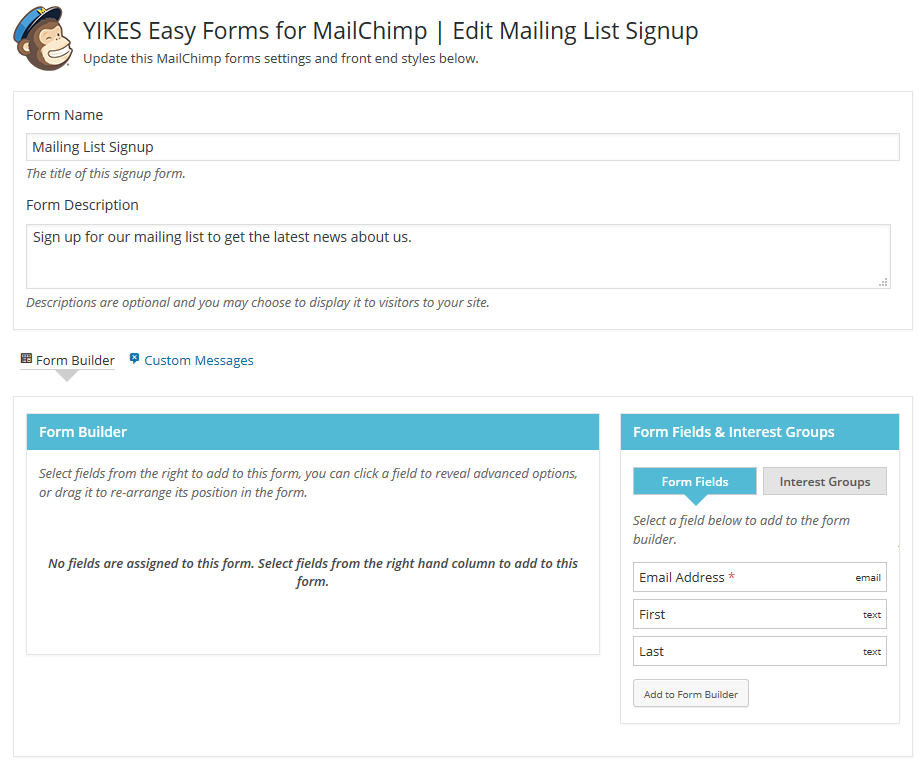
Add Fields to Your Form
Towards the bottom of the Editor you will find the Form Builder and Form Fields & Interest Groups.
Click on the fields from your list that you want to add to your form and hit the “Add to Form Builder” button.

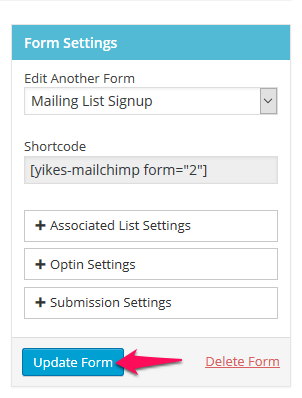
At this point you should save the form using the “Update Form” button.
You can drag and drop the fields in the Form Builder to rearrange them.

Click the pencil icon next to a field label to edit it when you’re done, click the check icon to save it. Make sure you hit “Update Form” to save all of your changes.
Click on a field to expand it and view all of its options.
- Merge Tag: The Merge Tag used by Mailchimp, this can not be changed.
- Placeholder: Text that will appear in the form field itself. It will disappear as soon as the user starts typing in it.
- Default Value: Pre-add text to the field. You can also add a pre-defined tag that will dynamically grab information from the page itself. This is handy if you want to figure out exactly what site and page the person submitted the form on. List of Pre-defined Tags
- Page Title
{page_title}– The title of the page the form is on. - Page ID
{page_id}– The numerical ID of the page the form is on. - Page URL
{page_url}– The URL of the page the form is on. - Blog Name
{blog_name}– The name of the site the form was submitted on. - User Logged In
{user_logged_in}– If the user was logged in or not when they submitted the form.
- Page Title
- Description: Add some text below the field.
- Additional Classes: Add your own CSS classes to a field so you can use custom CSS to style it.
- Field Required?: Make filling this field in mandatory before the user can submit it.
- Hide Field: Hide this field so users don’t see it on the front end. This is handy if you want to submit hidden information with the form using pre-defined tags.
- Hide Label: Hide the label or prompt text for the field. You may want to do this if you want to only use placeholders to indicate field names.
- Remove Field: Remove this field from the form.
After you are done editing your form, make sure to click the “Update Form” button to save it.
